Category: Blog

  • How to Publish a WordPress Site on AWS Lightsail

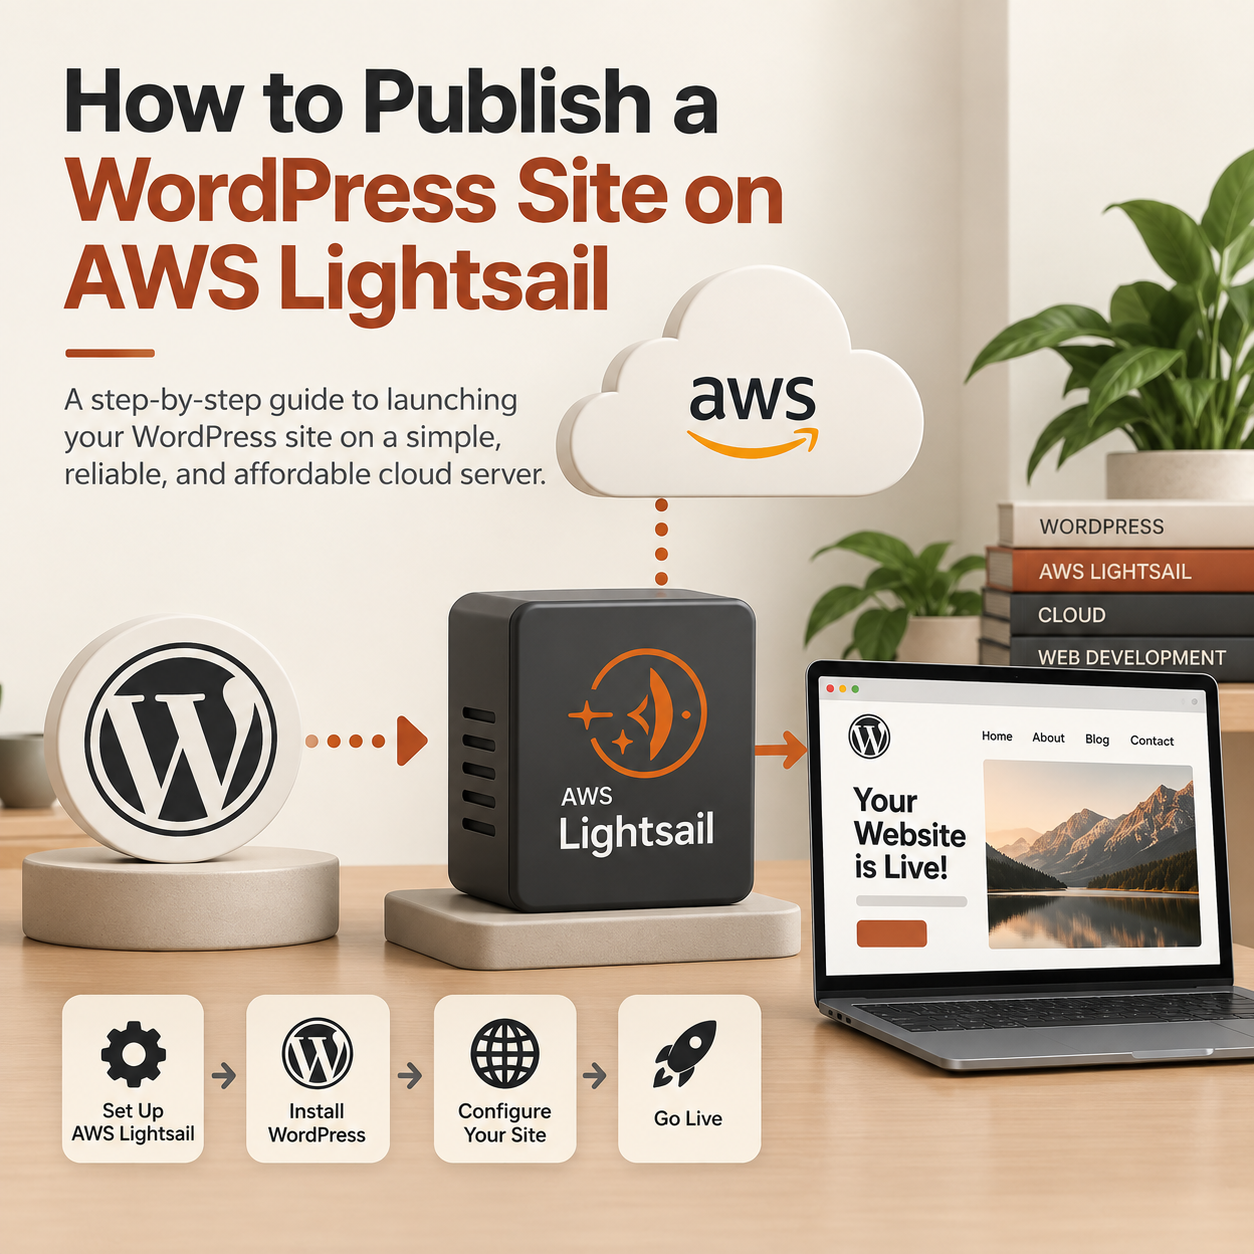
    How to Publish a WordPress Site on AWS Lightsail

    AWS Lightsail is one of the easiest and most cost-effective ways to host a WordPress site in the cloud. It strips away the complexity of traditional AWS setups while giving you dedicated virtual private server (VPS) performance starting at just a few dollars a month.

    Here is a streamlined guide to launching, configuring, and publishing your WordPress site using Lightsail.


    1. Launch Your Lightsail Instance

    First, create your virtual server using AWS’s pre-configured WordPress blueprint, which is packaged by Bitnami.

    • Log into the AWS Lightsail Console.
    • Click Create instance.
    • Select your preferred AWS Region (choose the one closest to your target audience).
    • Select Linux/Unix as the platform.
    • Under Select a blueprint, choose Apps + OS and select WordPress.
    • Choose your instance plan (the entry-level tiers are usually plenty for new sites).
    • Give your instance a unique name and click Create instance.

    2. Retrieve Your WordPress Credentials

    Once your instance status changes to Running, you need to fetch the admin password generated by Bitnami.

    • Click the SSH connect icon next to your instance name to open a secure browser terminal.
    • Type the following command to read the application password file:
      cat bitnami_application_password
    • Copy the password string displayed in the terminal.
    • Open a new browser tab, navigate to http://YOUR-INSTANCE-IP/wp-admin, and log in using the username user and the password you just copied.

    3. Attach a Static IP Address

    By default, Lightsail assigns a dynamic IP address that changes every time your instance reboots. You must change this to a static IP so your website address doesn’t break.

    • In the Lightsail console, navigate to the Networking tab.
    • Click Create static IP.
    • Select your WordPress instance to attach it to, name the static IP, and click Create.
    • Note: Static IPs are free in AWS Lightsail as long as they are attached to a running instance.

    4. Map Your Custom Domain

    Now it is time to point your custom domain name (e.g., mysite.com) to your new cloud server.

    • In Lightsail, go to the Networking tab and click Create DNS zone.
    • Enter your domain name and click Create.
    • Lightsail will provide you with four Name Server (NS) records. Copy these.
    • Log into your domain registrar (GoDaddy, Namecheap, Route 53, etc.) and replace your current domain name servers with the ones provided by Lightsail.
    • Back in the Lightsail DNS zone dashboard, add an A record pointing @ (your root domain) to your static IP, and a CNAME record pointing www to your root domain.

    5. Generate a Free SSL Certificate

    A secure site is mandatory for modern web browsing and SEO. Bitnami includes a built-in helper tool to install a free Let’s Encrypt SSL certificate.

    • Open your Lightsail browser SSH terminal again.
    • Run the official configuration tool:
      sudo /opt/bitnami/bncert-tool
    • Follow the on-screen prompts: enter your domain name (separated by spaces, like mysite.com ://mysite.com), enable HTTP to HTTPS redirection, and agree to the Let’s Encrypt terms.
    • The script will automatically configure your web server and set up automatic renewals.

    🚀 Your Site is Live!

    Your WordPress website is now fully published, secured, and running on AWS hardware. You can now log into your dashboard, change the default admin username for security, and start installing your custom themes and plugins.


    Are
  • The Ultimate Guide to Setting Up a macOS Virtual Machine for Development

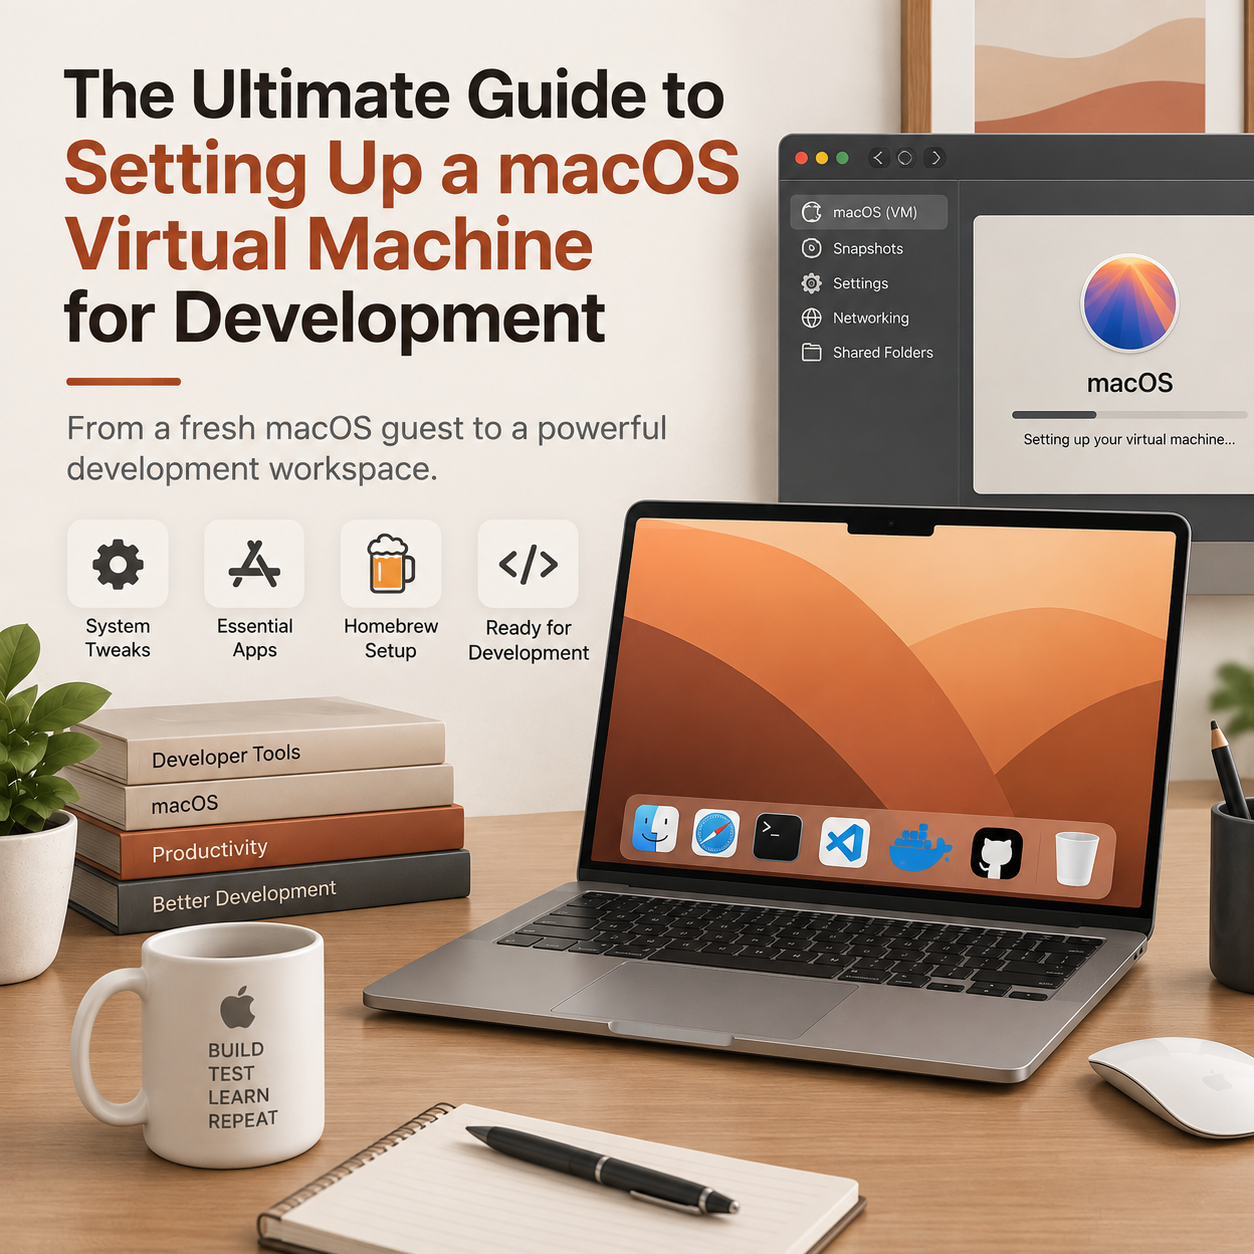
    The Ultimate Guide to Setting Up a macOS Virtual Machine for Development

    Setting up a macOS Virtual Machine (VM) is an excellent way to test installation scripts, safely evaluate raw tools, or isolate sandbox environments. However, a default macOS guest OS feels sluggish and bare-bones right out of the box.

    Here is the essential checklist of system tweaks, essential applications, and core Homebrew configurations to turn a fresh macOS VM into a highly functional workspace.

    1. Core System Tweaks (Boost Performance)

    Before installing software, you need to strip away heavy UI animations. Virtual machines usually lack full GPU hardware acceleration, making macOS animations feel incredibly laggy.

    • Disable Window Animations: Open the Terminal and run this command to turn off window scaling visuals:
      defaults write NSGlobalDomain NSAutomaticWindowAnimationsEnabled -bool false
    • Speed Up Dialog Boxes: Make sheets and save dialogs snap into view instantly:
      defaults write NSGlobalDomain NSWindowResizeTime -float 0.001
    • Disable Mission Control Animations: Snappier window management can be achieved via:
      defaults write com.apple.dock expose-animation-duration -float 0.1
    • Kill the Transparent Menu Bar: Go to System Settings > Accessibility > Display and check Reduce Transparency. This significantly decreases the rendering load on the VM’s virtual graphics driver.
    • Keep the Mac Awake: Go to System Settings > Displays > Advanced (or Energy Saver) and prevent the VM from going to sleep automatically during long installations.

    2. Essential GUI Apps to Install First

    Keep your VM footprint light. Stick to the absolute essentials needed to manage the environment and edit configurations.

    • Visual Studio Code: The universal standard for code editing. It runs remarkably light in a VM if you keep extensions to a minimum.
    • Iterm2: A highly customizable terminal replacement. It handles rendering profiles better than the default macOS Terminal application in virtualized setups.
    • Rectangle: A completely free, open-source window manager that lets you snap windows using keyboard shortcuts. This saves you from dragging sluggish windows around a lagging UI.
    • AppCleaner: Essential for VMs. When you are done testing a GUI application, AppCleaner ensures you delete every single stray configuration folder, keeping your virtual disk image small.

    3. The Homebrew Toolchain

    Once Homebrew is installed, skip installing heavy software suites and prioritize command-line utility tools.

    Core CLI Utilities (Formulas)

    • git: Never rely on the system-provided Apple Git wrapper. Grab the freshest version straight from Brew.
    • jq: A lightweight, command-line JSON processor. Crucial if your VM is testing API requests or deployment scripts.
    • tldr: Simplified, community-driven terminal man pages. Perfect for quickly remembering arguments without reading massive text files.
    • htop or btop: Interactive process viewers. Essential for monitoring if your VM is choking on CPU or RAM limits allocated by the host hypervisor.
    • gh: The official GitHub command-line tool to quickly clone repositories and manage authentication securely.

    GUI Applications via Homebrew (Casks)

    Instead of visiting websites, use the Cask ecosystem to spin up your testing targets rapidly:

    • brew install --cask docker (If you need micro-containerization inside your sandbox)
    • brew install --cask google-chrome (For cross-browser layout testing)

    4. Snapshot and Freeze

    The single biggest mistake you can make is finalizing this setup and immediately working in it.

    Once your settings are dialed in, your terminal looks right, and Brew is installed:

    1. Shut down the guest macOS completely.
    2. Run a disk cleanup/trim via your VM hypervisor settings to minimize file size.
    3. Take a “Golden Master” Snapshot.

    Whenever a test environment breaks, or a dependency gets messy, you can roll right back to this precise moment in seconds.