
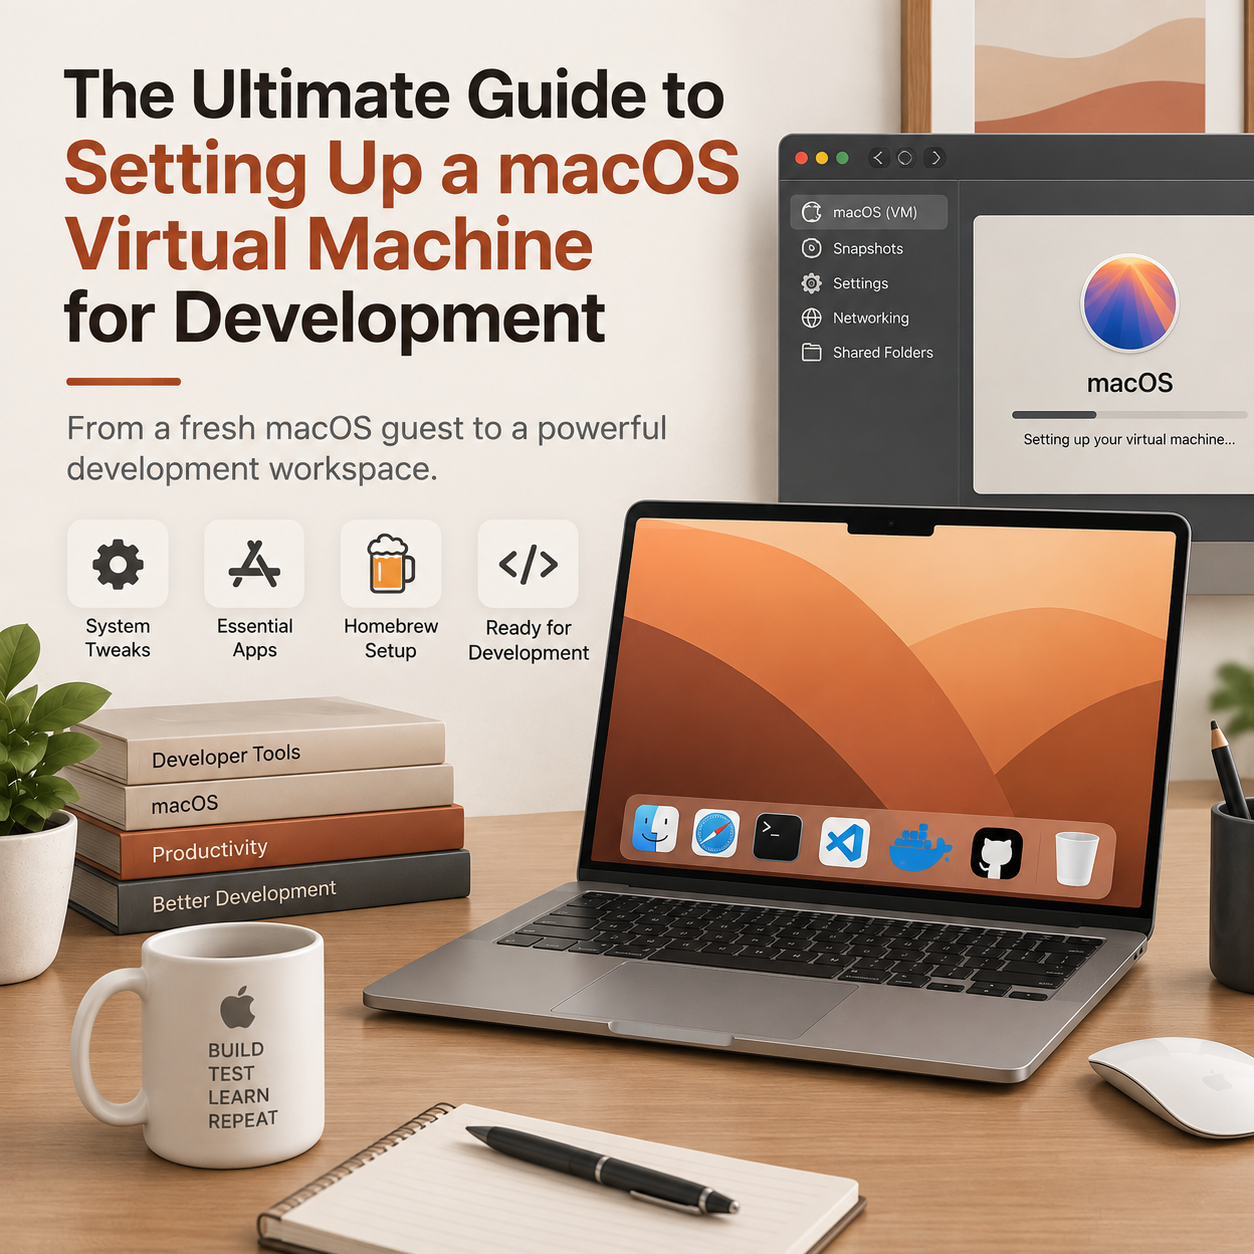
Setting up a macOS Virtual Machine (VM) is an excellent way to test installation scripts, safely evaluate raw tools, or isolate sandbox environments. However, a default macOS guest OS feels sluggish and bare-bones right out of the box.
Here is the essential checklist of system tweaks, essential applications, and core Homebrew configurations to turn a fresh macOS VM into a highly functional workspace.
1. Core System Tweaks (Boost Performance)
Before installing software, you need to strip away heavy UI animations. Virtual machines usually lack full GPU hardware acceleration, making macOS animations feel incredibly laggy.
- Disable Window Animations: Open the Terminal and run this command to turn off window scaling visuals:
defaults write NSGlobalDomain NSAutomaticWindowAnimationsEnabled -bool false - Speed Up Dialog Boxes: Make sheets and save dialogs snap into view instantly:
defaults write NSGlobalDomain NSWindowResizeTime -float 0.001 - Disable Mission Control Animations: Snappier window management can be achieved via:
defaults write com.apple.dock expose-animation-duration -float 0.1 - Kill the Transparent Menu Bar: Go to System Settings > Accessibility > Display and check Reduce Transparency. This significantly decreases the rendering load on the VM’s virtual graphics driver.
- Keep the Mac Awake: Go to System Settings > Displays > Advanced (or Energy Saver) and prevent the VM from going to sleep automatically during long installations.
2. Essential GUI Apps to Install First
Keep your VM footprint light. Stick to the absolute essentials needed to manage the environment and edit configurations.
- Visual Studio Code: The universal standard for code editing. It runs remarkably light in a VM if you keep extensions to a minimum.
- Iterm2: A highly customizable terminal replacement. It handles rendering profiles better than the default macOS Terminal application in virtualized setups.
- Rectangle: A completely free, open-source window manager that lets you snap windows using keyboard shortcuts. This saves you from dragging sluggish windows around a lagging UI.
- AppCleaner: Essential for VMs. When you are done testing a GUI application, AppCleaner ensures you delete every single stray configuration folder, keeping your virtual disk image small.
3. The Homebrew Toolchain
Once Homebrew is installed, skip installing heavy software suites and prioritize command-line utility tools.
Core CLI Utilities (Formulas)
git: Never rely on the system-provided Apple Git wrapper. Grab the freshest version straight from Brew.jq: A lightweight, command-line JSON processor. Crucial if your VM is testing API requests or deployment scripts.tldr: Simplified, community-driven terminal man pages. Perfect for quickly remembering arguments without reading massive text files.htoporbtop: Interactive process viewers. Essential for monitoring if your VM is choking on CPU or RAM limits allocated by the host hypervisor.gh: The official GitHub command-line tool to quickly clone repositories and manage authentication securely.
GUI Applications via Homebrew (Casks)
Instead of visiting websites, use the Cask ecosystem to spin up your testing targets rapidly:
brew install --cask docker(If you need micro-containerization inside your sandbox)brew install --cask google-chrome(For cross-browser layout testing)
4. Snapshot and Freeze
The single biggest mistake you can make is finalizing this setup and immediately working in it.
Once your settings are dialed in, your terminal looks right, and Brew is installed:
- Shut down the guest macOS completely.
- Run a disk cleanup/trim via your VM hypervisor settings to minimize file size.
- Take a “Golden Master” Snapshot.
Whenever a test environment breaks, or a dependency gets messy, you can roll right back to this precise moment in seconds.