
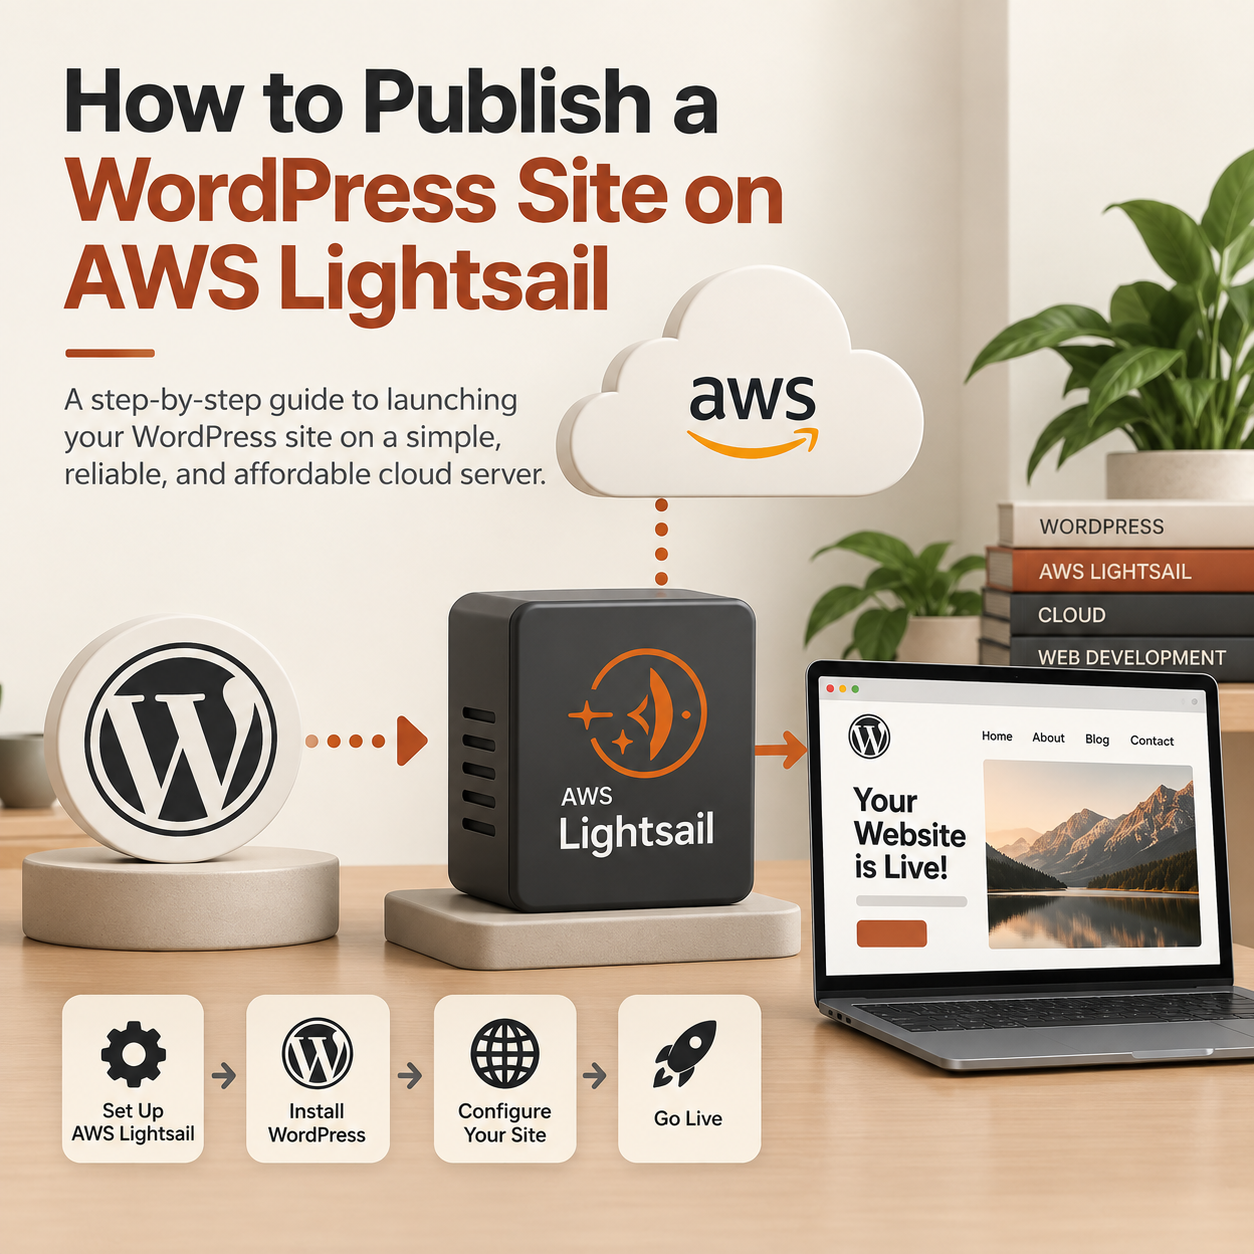
AWS Lightsail is one of the easiest and most cost-effective ways to host a WordPress site in the cloud. It strips away the complexity of traditional AWS setups while giving you dedicated virtual private server (VPS) performance starting at just a few dollars a month.
Here is a streamlined guide to launching, configuring, and publishing your WordPress site using Lightsail.
1. Launch Your Lightsail Instance
First, create your virtual server using AWS’s pre-configured WordPress blueprint, which is packaged by Bitnami.
- Log into the AWS Lightsail Console.
- Click Create instance.
- Select your preferred AWS Region (choose the one closest to your target audience).
- Select Linux/Unix as the platform.
- Under Select a blueprint, choose Apps + OS and select WordPress.
- Choose your instance plan (the entry-level tiers are usually plenty for new sites).
- Give your instance a unique name and click Create instance.
2. Retrieve Your WordPress Credentials
Once your instance status changes to Running, you need to fetch the admin password generated by Bitnami.
- Click the SSH connect icon next to your instance name to open a secure browser terminal.
- Type the following command to read the application password file:
cat bitnami_application_password - Copy the password string displayed in the terminal.
- Open a new browser tab, navigate to
http://YOUR-INSTANCE-IP/wp-admin, and log in using the usernameuserand the password you just copied.
3. Attach a Static IP Address
By default, Lightsail assigns a dynamic IP address that changes every time your instance reboots. You must change this to a static IP so your website address doesn’t break.
- In the Lightsail console, navigate to the Networking tab.
- Click Create static IP.
- Select your WordPress instance to attach it to, name the static IP, and click Create.
- Note: Static IPs are free in AWS Lightsail as long as they are attached to a running instance.
4. Map Your Custom Domain
Now it is time to point your custom domain name (e.g., mysite.com) to your new cloud server.
- In Lightsail, go to the Networking tab and click Create DNS zone.
- Enter your domain name and click Create.
- Lightsail will provide you with four Name Server (NS) records. Copy these.
- Log into your domain registrar (GoDaddy, Namecheap, Route 53, etc.) and replace your current domain name servers with the ones provided by Lightsail.
- Back in the Lightsail DNS zone dashboard, add an A record pointing
@(your root domain) to your static IP, and a CNAME record pointingwwwto your root domain.
5. Generate a Free SSL Certificate
A secure site is mandatory for modern web browsing and SEO. Bitnami includes a built-in helper tool to install a free Let’s Encrypt SSL certificate.
- Open your Lightsail browser SSH terminal again.
- Run the official configuration tool:
sudo /opt/bitnami/bncert-tool - Follow the on-screen prompts: enter your domain name (separated by spaces, like
mysite.com ://mysite.com), enable HTTP to HTTPS redirection, and agree to the Let’s Encrypt terms. - The script will automatically configure your web server and set up automatic renewals.
🚀 Your Site is Live!
Your WordPress website is now fully published, secured, and running on AWS hardware. You can now log into your dashboard, change the default admin username for security, and start installing your custom themes and plugins.
Are